Mediapipe CPU (Python)
| Face Detection | Face Mesh | Iris | Hands | Pose | Holistic |
|---|---|---|---|---|---|
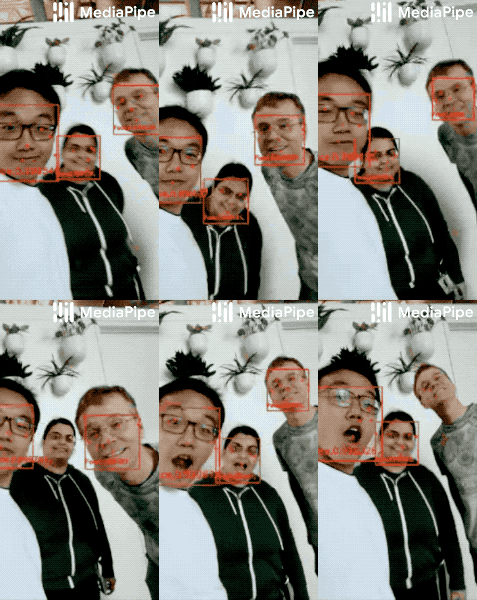 |
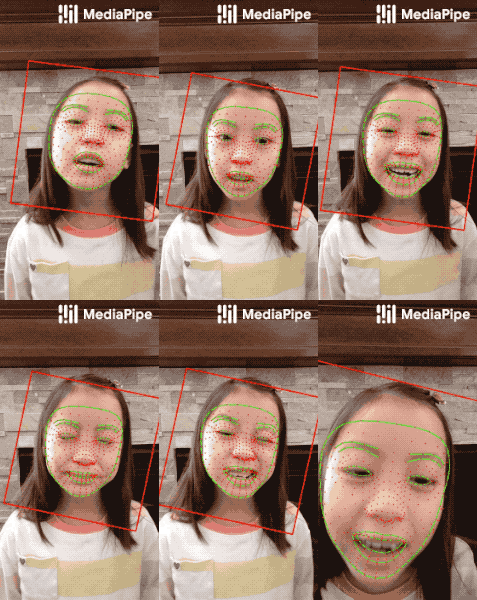 |
|
|
|
|
| Hair Segmentation | Object Detection | Box Tracking | Instant Motion Tracking | Objectron | KNIFT |
|---|---|---|---|---|---|
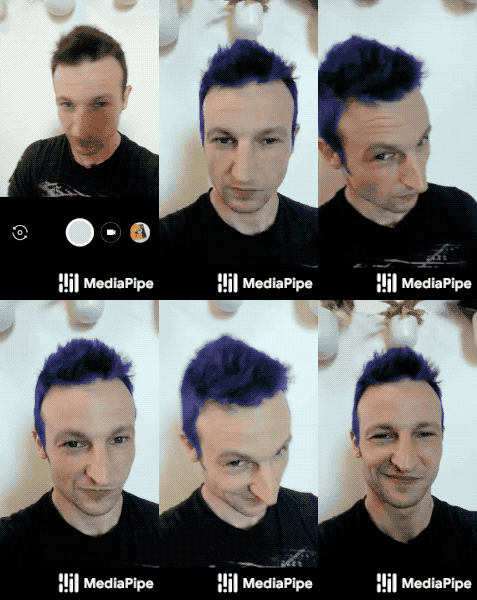 |
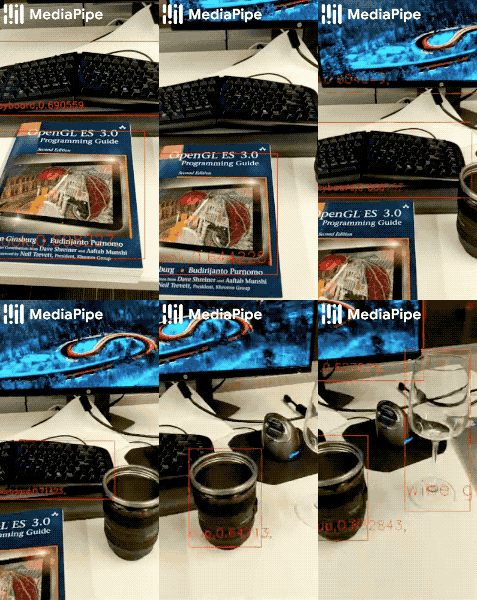 |
|
|
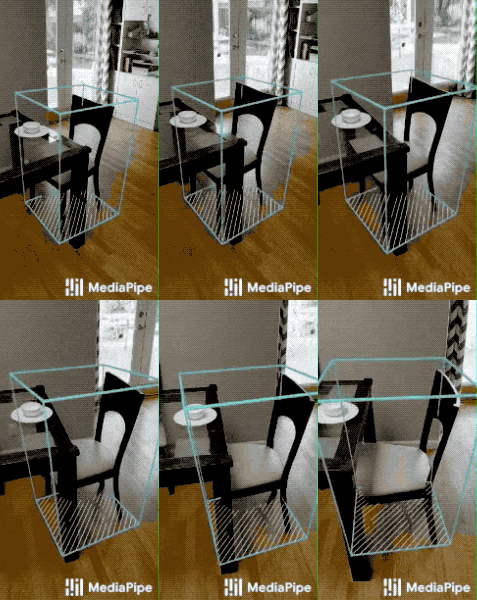 |
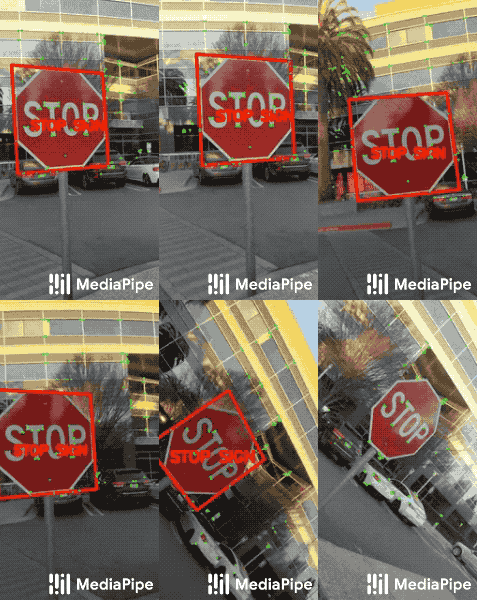 |
Mediapipe + TouchDesigner #
TouchDesigner is able to run Python. Therefore, it’s also possible to run Mediapipe inside TouchDesigner in order to create interactive prototypes even faster and without having to write all of the code for your experimental project in Python. TouchDesigner allows you to get the tracking data in via Python and then you can prototype using the standard ToucDesigner workflows.
Aalto Windows Computers #
Setting up Mediapipe to work with TouchDesigner on Aalto computers needs to be done in a very specific way. Please follow the instructions carefully.
TouchDesigner comes with Python built-in. The current version is Python 3.9.5 (January 2023, TouchDesigner version 2022.31030). You need to install a matching version on your computer to be able to setup Mediapipe for Python.
Here is a video of the whole process for Aalto computers.
You can also follow the text instructions below.
1. Install Python 3.9 #
- Open the Microsoft Store
- Search for Python 3.9
- Install the Python 3.9 version that comes up
2. Install Mediapipe for Python #
- Open the Windows Comman Prompt
- Type
pip3.9 install mediapipe - After a couple of minutes, you should see a message saying that everything has been installed successfully.
- In order to know where the computer installs the package, type
pip3.9 show mediapipe. Copy the folder forLocation:. Note that you can copy text in the Command Prompt by selecting the text and right-clicking the mouse.
3. Make Mediapipe available in TouchDesigner #
- Open TouchDesigner
- Open
Preferences(alt + p) - Select the folder icon for Python 64-bit Module Path
- Select the folder you found out in the previous step (or copy-paste the path)
- Click
Saveand close the Preferences window - Restart TouchDesigner
- Open
Dialogs-->Textport and DATs - Type
import mediapipe as mpand press enter - Then type
print(dir(mp.solutions))and press enter - You should get something like this
python >>> import mediapipe as mp
python >>> print(dir(mp.solutions))
['__builtins__', '__cached__', '__doc__', '__file__', '__loader__', '__name__', '__package__',
'__path__', '__spec__', 'download_utils', 'drawing_styles', 'drawing_utils', 'face_detection',
'face_mesh', 'face_mesh_connections', 'hands', 'hands_connections', 'holistic', 'mediapipe',
'objectron', 'pose', 'pose_connections', 'selfie_segmentation']
python >>>
If you see a similar response, you have successfully installed mediapipe on your computer and it’s ready to be used with TouchDesigner.
MacOS (Silicon) #
If you have an Apple computer with the new M-series chip, follow these instructions.
1. Install pyenv #
There are many ways of installing Python for macOS. My recommendation would be to install pyenv which then allows you to easily install and control multiple Python versions.
Follow the installation instructions in GitHub
2. Install the Correct Version of Python #
Once you have pyenv installed, you can install Python. TouchDesigner comes with Python built-in. The current version is Python 3.9.5 (January 2023, TouchDesigner version 2022.31030). You need to install a matching version on your computer to be able to setup Mediapipe for Python.
- Use pyen to install Python version 3.9.5 (or any 3.9. version)
pyenv install 3.9.5 - Set you python to use this installed version
pyenv global 3.9.5 - Check that everything is in order
pyenv versions
2. Install Mediapipe for Python #
- Open the Terminal
- Type
pip install --upgrade --user mediapipe-silicon - After a couple of minutes, you should see a message saying that everything has been installed successfully.
- In order to know where the computer installs the package, type
pip show mediapipe-silicon. Copy the folder forLocation:.
3. Make Mediapipe available in TouchDesigner #
- Open TouchDesigner
- Open
Preferences(alt + p) - Select the folder icon for Python 64-bit Module Path
- Select the folder you found out in the previous step (or copy-paste the path)
- Click
Saveand close the Preferences window - Restart TouchDesigner
- Open
Dialogs-->Textport and DATs - Type
ìmport mediapipe as mpand press enter - Then type
print(dir(mp.solutions))and press enter - You should get something like this
python >>> import mediapipe as mp
python >>> print(dir(mp.solutions))
['__builtins__', '__cached__', '__doc__', '__file__', '__loader__', '__name__', '__package__',
'__path__', '__spec__', 'download_utils', 'drawing_styles', 'drawing_utils', 'face_detection',
'face_mesh', 'face_mesh_connections', 'hands', 'hands_connections', 'holistic', 'mediapipe',
'objectron', 'pose', 'pose_connections', 'selfie_segmentation']
python >>>
If you see a similar response, you have successfully installed mediapipe on your computer and it’s ready to be used with TouchDesigner.
TouchDesigner Examples #
- Download some of the examples below.
- Bryan Chung has made nice tutorials and excellent examples on how to use Mediapipe with TouchDesigner
Matti’s TouchDesigner Components for Mediapipe #
Download these and add to your MyComponents in the Palette so you have them easily available.
- mediaPipePose
- mediaPipeFace
- mediaPipeHands (updated 09/03/2023)