USB: Serial
Serial
Arduino has two built-in tools for receiving and/or sending serial data.
- Serial Monitor
- Serial Plotter
We have already used them both, mainly for seeing data printed from the sensors we use.
You can also use serial communication with other software on your computer.
Circuit
- The MSA311 accelerometer connected to your Pico using the Qwiic connector
Arduino Code
Upload the following code to your board. It reads the sensor data and prints out the data on one line with the values separated by a comma.
// add all necessary libraries
#include <Wire.h>
#include <Adafruit_MSA301.h>
#include <Adafruit_Sensor.h>

// Comment/Uncomment as needed for specific MSA being used:
Adafruit_MSA311 msa;
//Adafruit_MSA301 msa;

float x,y,z;

void setup() {
  // put your setup code here, to run once:
  Serial.begin(115200);
  if (! msa.begin()) {
        Serial.println("Failed to find MSA301/311 chip");
        while (1) { delay(10); }
    }
  Serial.println("MSA301/311 Found!");
}

void loop() {
  // put your main code here, to run repeatedly:
    // get X Y and Z data at once
    msa.read();

    x = msa.x;
    y = msa.y;
    z = msa.z;

    // print the values
    Serial.print(x);
    Serial.print(",");
    Serial.print(y);
    Serial.print(",");
    Serial.println(z);
    delay(50);
}
Make sure you close all Serial Monitors from the Arduino IDE before testing in other software.
Option #1: p5.js code
We can use the p5.webserial library to communicate with the Arduino board directly from the browser. See the documentation of the library.
You can create a p5.js sketch to read the data from the serial port. This works with the online editor as well.
Note that you have to use a browser that supports the Web Serial API, such as Chrome, for this to work.
First, open the index.html file and add the following inside the head tags to include the library:
<script src="https://unpkg.com/@gohai/p5.webserial@^1/libraries/p5.webserial.js"></script>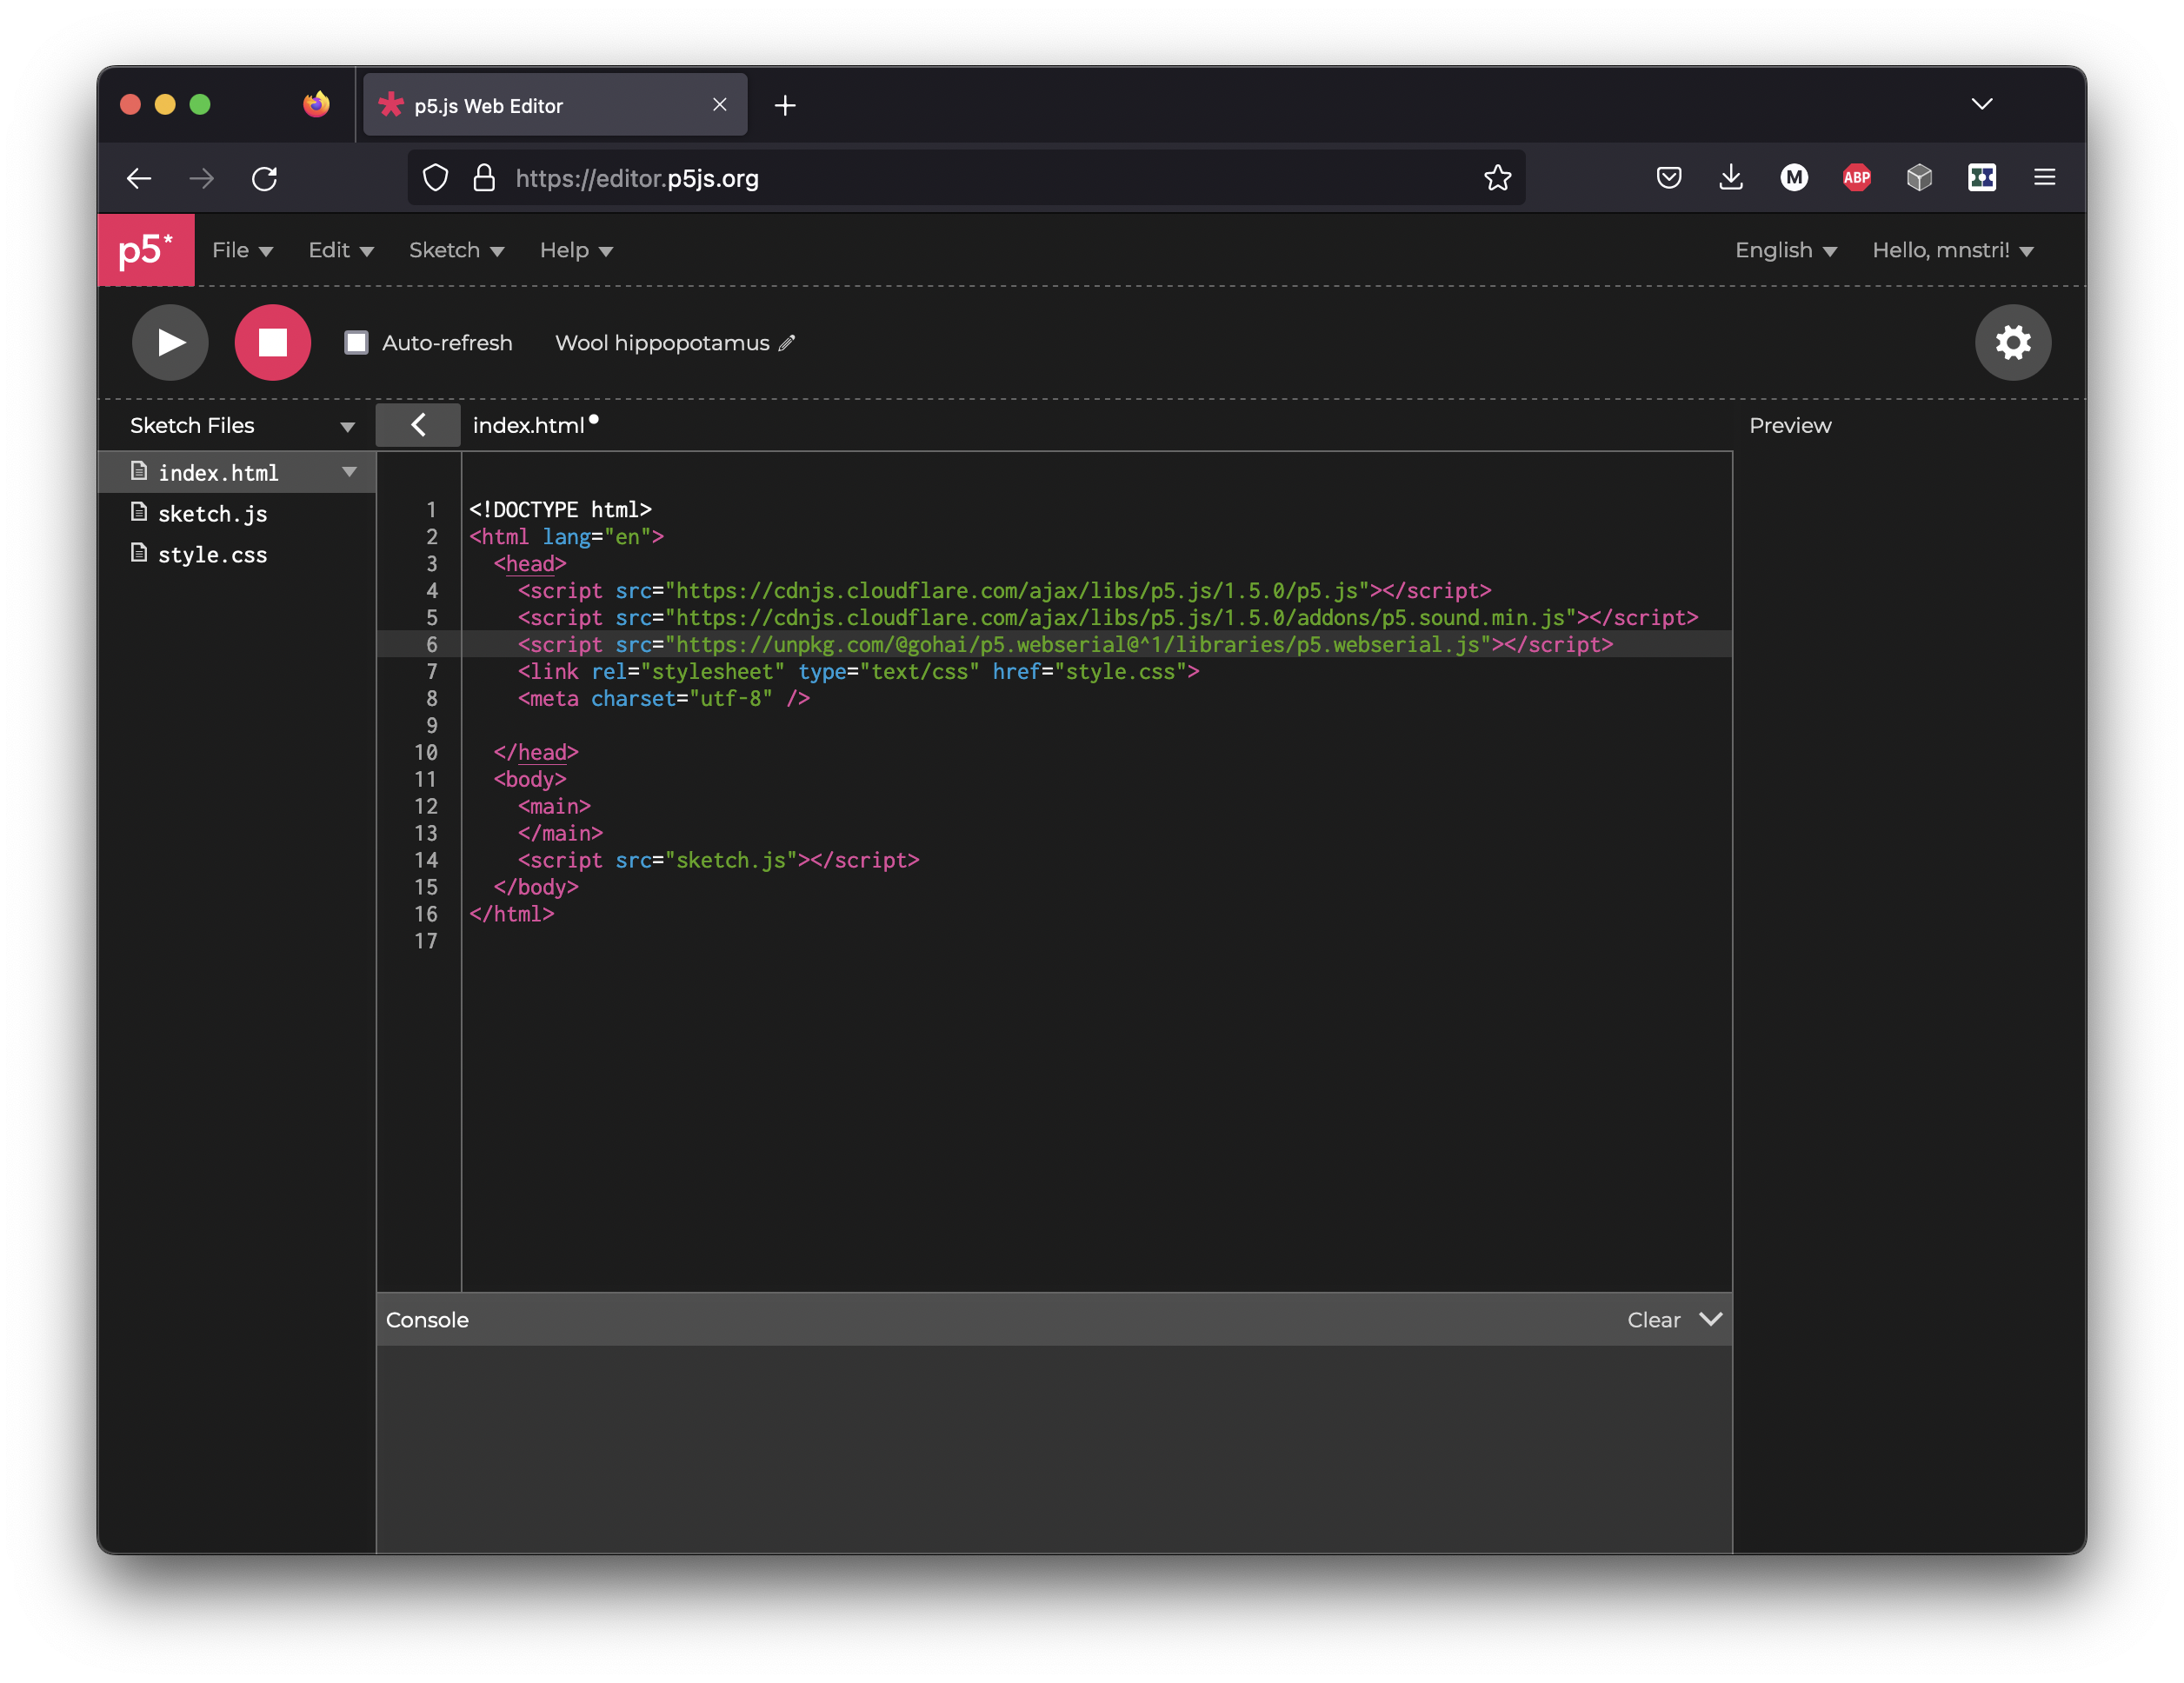
Then use the code below. If everything went as expected, you should be able to connect to your Arduino and see the data coming in.
Open the example in the p5.js editor.
let port;
let x,y,z;
let c;
let s=10;
let circleX=0;
let circleY=0;

let cX=0, cY=0;

function setup() {
  createCanvas(400, 400);
  port = createSerial();
  c = color(255);
}

function draw() {
  background(130,70,90);

  if(port.available()>0){
    let str = port.readUntil("\n");
    if(str != null){
      //console.log(str);
      let splitData = splitTokens(str, ',');
      x = float(splitData[0]);
      y = float(splitData[1]);
      z = float(splitData[2]);
      port.clear();

      // sometimes we gat a NaN (Not a Number) value
      // https://developer.mozilla.org/en-US/docs/Web/JavaScript/Reference/Global_Objects/isNaN
      // this if statement ignores those values
      if(!isNaN(x) && !isNaN(y)){
        circleX = map(x,-2000,2000,0,width);
        circleY = map(y,-2000,2000,0,height);
        console.log(cX, cY);
        cX = lerp(cX,circleX,0.3);
        cY = lerp(cY,circleY,0.3);
      }
    }
  }

  fill(255);
  text("x: " + x,20,20);
  text("y: " + y,20,40);
  text("z: " + z,20,60);
  //fill(c);
  circle(cX, cY, 100);
}

function mousePressed(){
  if (!port.opened()) {
    port.open(115200);
  }
}
Another p5.js example
Some other p5.js examples (open in Chrome)
- Eye Plops (this one uses the same Arduino code as above)
Option #2: Processing code
You can also do the same thing using Processing. The Serial library comes built-in with Processing so you don’t need to install anything extra. Just include the library in your code.
import processing.serial.*;

Serial myPort;  // Create object from Serial class
String str;      // Data received from the serial port
float x,y,z;
float circleX;
float circleY;
float s=100;

void setup(){
  size(500, 500);
  // Open whatever port is the one you're using.
  // Change the 0 in  Serial.list()[0] to the correct device
  printArray(Serial.list());
  String portName = Serial.list()[5];
  myPort = new Serial(this, portName, 115200);
}

void draw(){
  if ( myPort.available() > 0) {  // If data is available,
    str = myPort.readStringUntil('\n');         // read it and store it in str
    if(str != null){
      String[] splitData = split(str, ",");
      x = float(splitData[0]);
      y = float(splitData[1]);
      z = float(splitData[2]);
      circleX = map(x,-2000,2000,0,width);
      circleY = map(y,-2000,2000,0,height);
    }
  }
  background(130,70,90);
  fill(255);
  text("x: " + x,20,20);
  text("y: " + y,20,40);
  text("z: " + y,20,60);
  circle(circleX, circleY, s);
}
Option #3: TouchDesigner Example
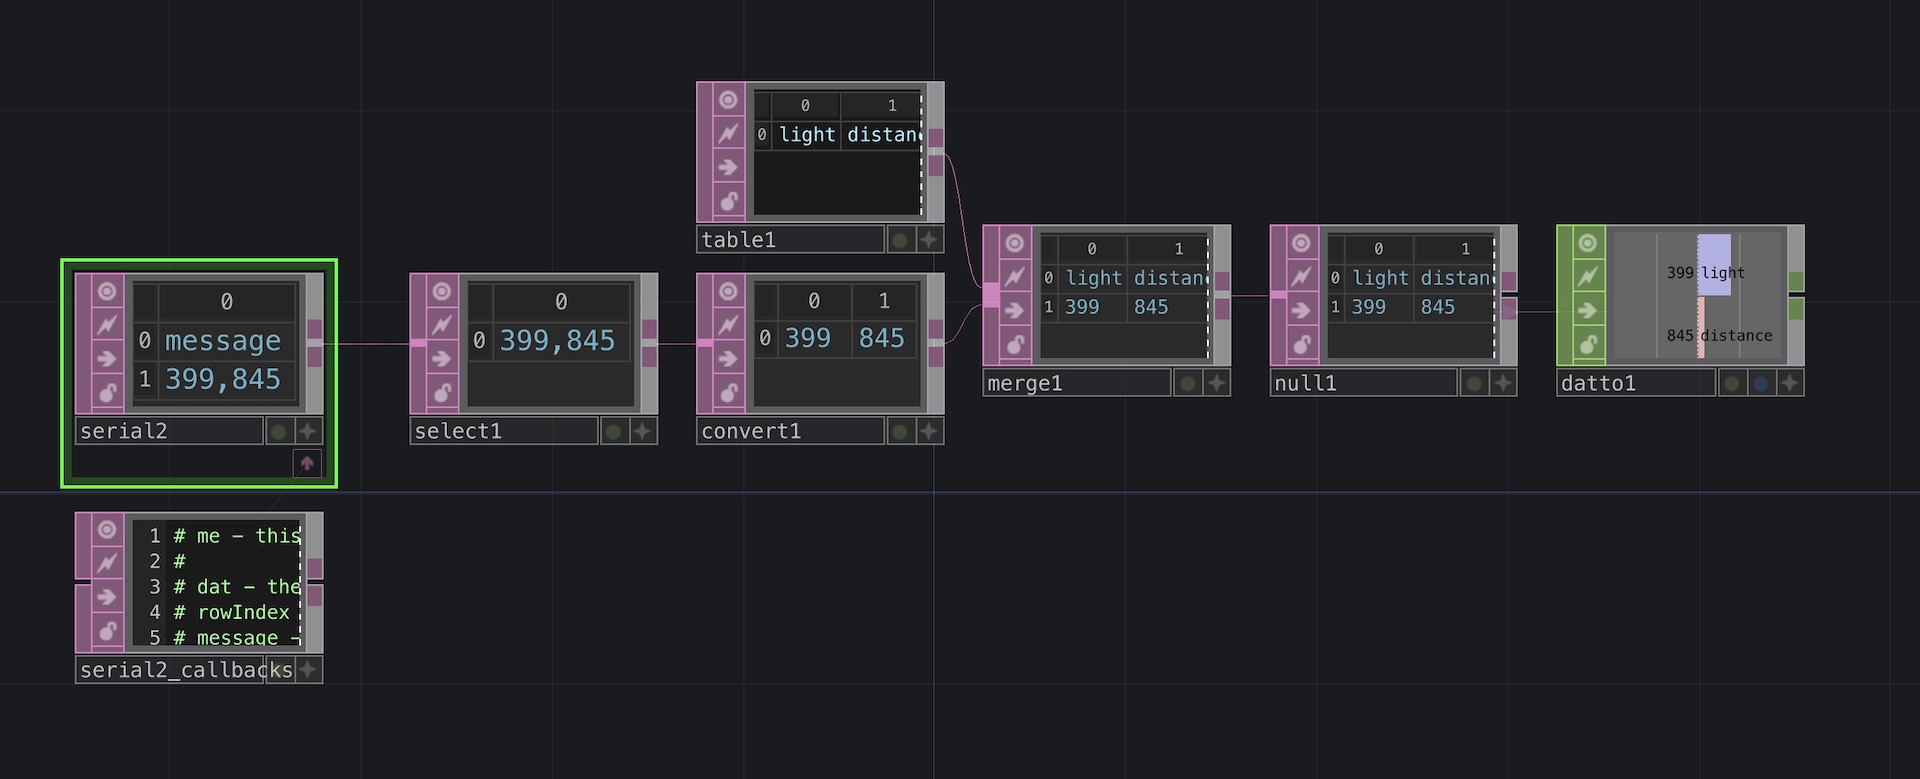
There are two ways to use serial communication in TouchDesigner:
- Using the Serial CHOP | This is useful when you are only receiving one value
- Usingt the Serial DAT | Use this for more complex cases or when you need to receive multiple values
Download a TouchDesigner example of reading the values from the Serial Port.